In this tutorial, we will build a clean and fully functional Image-to-Text Extractor using Laravel Livewire and Tesseract OCR. This tool allows users to upload an image, preview it instantly, and extract text in real time — all without page reloads. With a simple drag-and-drop uploader and Livewire’s reactive features, the entire process feels smooth, modern, and user-friendly. Tesseract OCR is a powerful engine capable of reading text from photos, scanned documents, receipts, handwritten notes, and screenshots. When integrated with Livewire, it creates a fast and efficient workflow suitable for dashboards, school systems, admin panels, and automation tools. In this guide, you will learn how to set up image upload handling, generate previews, validate files, and convert images to text using Tesseract. We also provide both Tailwind and Bootstrap versions so you can integrate the extractor into any project easily. By the end, you’ll have a professional and reusable OCR module that fits perfectly into modern Laravel applications and can be extended with features like multi-language support, PDF processing, and batch extraction.
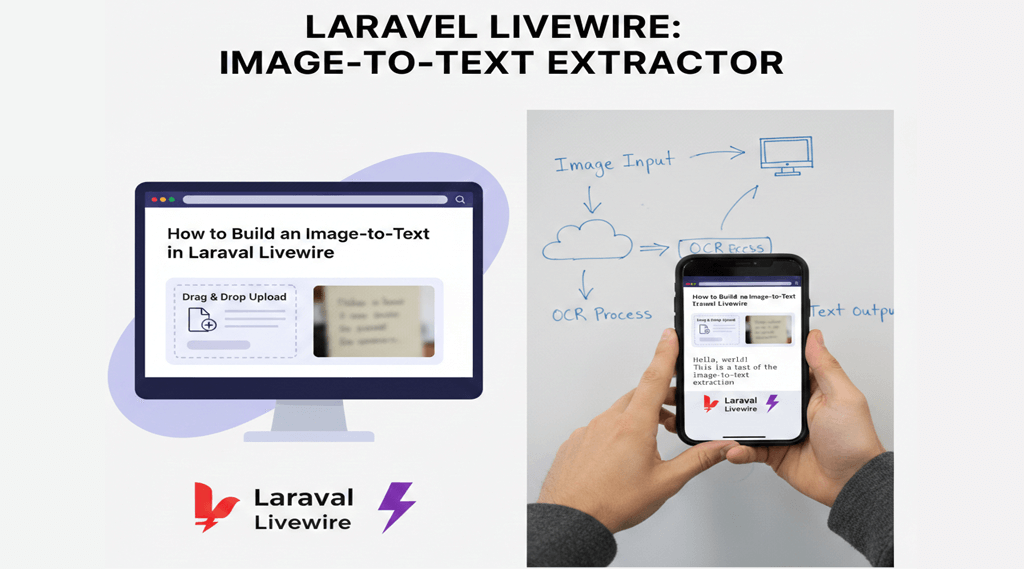
How to Build an Image-to-Text Extractor in Laravel Livewire
Extracting text from images (OCR) becomes super easy when combining Laravel Livewire with Tesseract OCR.
This tutorial helps you build an elegant, modern Image to Text Extractor with:
✔ Drag & Drop Upload
✔ Click to Browse
✔ Live Preview
✔ Tesseract OCR
✔ Real-time results
✔ Clean UI (Tailwind + Bootstrap versions)
🛠 Step 1 — Install Tesseract OCR
Install Tesseract on Windows:
https://github.com/UB-Mannheim/tesseract/wikiThen install the PHP wrapper:
composer require thiagoalessio/tesseract_ocr
🛠 Step 2 — Create Livewire Component
php artisan make:livewire ImageToText
🧠 Step 3 — Livewire Component Logic
<?php

namespace App\Livewire;

use Illuminate\Support\Facades\Log;
use Livewire\Component;
use Livewire\WithFileUploads;
use thiagoalessio\TesseractOCR\TesseractOCR;
use Illuminate\Support\Facades\Http;

class ImageToText extends Component
{
    use WithFileUploads;

    public $image;
    public $imagePath;
    public $extractedText = '';

    protected $rules = [
        'image' => 'required|image|mimes:jpg,jpeg,png,bmp,tiff,webp|max:4096',
    ];

    protected $messages = [
        'image.required' => 'Please upload an image that contains text.',
        'image.image'    => 'The file must be an image.',
        'image.mimes'    => 'Allowed types: jpg, jpeg, png, bmp, tiff, webp.',
        'image.max'      => 'Image size must be less than 4MB.',
    ];


    public function updatedImage()
    {
        $this->reset('extractedText', 'imagePath');
        $this->validateOnly('image');
    }


    public function clear()
    {
        $this->reset(['image', 'imagePath', 'extractedText']);
        $this->resetErrorBag();
        $this->resetValidation();
    }

    public function render()
    {
        return view('livewire.frontend.image-to-text');
    }

    public function uploadFile($file, $folder = 'ocr')
    {
        // Create unique filename
        $filename = time() . '-' . uniqid() . '.' . $file->getClientOriginalExtension();

        // Store file in storage/app/public/ocr
        $path = $file->storeAs('public/' . $folder, $filename);

        return [
            'file_name'  => $filename,
            'disk_path'  => $folder . '/' . $filename,   // public/ removed
            'full_path'  => storage_path('app/public/' . $folder . '/' . $filename),
            'url'        => asset('storage/' . $folder . '/' . $filename),
        ];
    }

    public function extractText()
    {
        $this->validate();

        try {

            // Store image
            $upload = $this->uploadFile($this->image, 'ocr');

            $this->imagePath = $upload['disk_path'];
            $fullPath        = $upload['full_path'];

        /*
        |--------------------------------------------------------------------------
        | 1. IF PRODUCTION → USE ONLINE OCR API
        |--------------------------------------------------------------------------
        */
            if (app()->environment('production')) {
                $ocrConfig = config('services.ocr');

                $response = Http::asMultipart()
                    ->withHeaders([
                        'apikey' => $ocrConfig['api_key'], // taken from config/services.php
                    ])
                    ->post($ocrConfig['api_url'], [
                        [
                            'name' => 'language',
                            'contents' => $ocrConfig['language'],
                        ],
                        [
                            'name' => 'isOverlayRequired',
                            'contents' => $ocrConfig['overlay'] ? 'true' : 'false',
                        ],
                        [
                            'name' => 'file',
                            'contents' => fopen($fullPath, 'r'),
                            'filename' => basename($fullPath),
                        ]
                    ]);

                if ($response->failed()) {
                    throw new \Exception("API request failed");
                }

                $result = $response->json();

                $this->extractedText = $result['ParsedResults'][0]['ParsedText'] ?? "No text found.";
                return;
            }

        /*
        |--------------------------------------------------------------------------
        | 2. ELSE (LOCAL / DEV) → USE LOCAL TESSERACT EXE
        |--------------------------------------------------------------------------
        */
            if (!app()->environment('production')) {
                // LOCAL TESSERACT
                $tesseract = config('services.tesseract');

                $ocr = (new TesseractOCR($fullPath))
                    ->executable($tesseract['exe_path'])
                    ->lang($tesseract['language']);

                $this->extractedText = trim($ocr->run());
                return;
            }
        } catch (\Throwable $e) {

            Log::error('OCR Error: ' . $e->getMessage());

            $this->addError('image', 'Unable to extract text. Please try again.');
            $this->extractedText = "Error: Unable to process the image. Please try again.";
        }
    }
}
🎨 Step 4 — Blade View (Tailwind Version)
Below is your complete modern UI with drag & drop upload + preview.
<div>
    <div class="bg-white p-6 rounded-xl shadow-md min-h-[700px]">
    <div class="grid grid-cols-1 md:grid-cols-2 gap-6">

        <!-- LEFT COLUMN -->
        <div>
            <!-- Header -->
            <div class="flex justify-between items-center mb-6">
                <h5 class="text-lg font-semibold">Image to Text Extractor</h5>

                <button type="button" wire:click="clear"
                    class="px-3 py-1.5 text-sm border border-gray-300 rounded-lg text-gray-600 hover:bg-gray-100 transition">
                    Reset
                </button>
            </div>

            <!-- Drag & Drop Upload Box -->
            <div
                id="dropArea"
                class="border-2 border-dashed border-gray-300 p-6 text-center rounded-lg bg-gray-50 cursor-pointer hover:border-blue-400 transition"
                ondragover="event.preventDefault()"
                ondrop="handleDrop(event)"
            >
                <p class="text-gray-600">Drag & Drop file here or <span class="font-semibold">click to browse</span></p>

                <input type="file" wire:model="image" id="fileInput" class="hidden">
            </div>

            <!-- Loader -->
            <div wire:loading wire:target="image" class="text-gray-500 text-sm mt-2">
                Uploading image...
            </div>

            <!-- Error -->
            @error('image')
                <span class="text-red-600 text-sm mt-2 block">{{ $message }}</span>
            @enderror

            <!-- Preview -->
            @if ($image)
                <div class="mt-4">
                    <div class="font-semibold mb-2">Preview</div>
                    <img src="{{ $image->temporaryUrl() }}" alt="Preview"
                        class="rounded-lg shadow max-h-72 object-contain w-full">
                </div>
            @endif


            <!-- FORM BUTTONS -->
            <form wire:submit.prevent="extractText" class="mt-6">
                <div class="flex gap-3">
                    <button type="submit" wire:loading.attr="disabled" wire:target="extractText,image"
                        class="bg-blue-600 text-white px-4 py-2 rounded-lg hover:bg-blue-700 transition disabled:opacity-50">
                        <span wire:loading.remove wire:target="extractText">Extract Text</span>
                        <span wire:loading wire:target="extractText">Processing...</span>
                    </button>

                    <button type="button" wire:click="clear" wire:loading.attr="disabled"
                        class="border border-gray-300 px-4 py-2 rounded-lg text-gray-600 hover:bg-gray-100 transition">
                        Clear
                    </button>
                </div>
            </form>

        </div>

        <!-- RIGHT COLUMN -->
        <div>
            <label class="block font-medium mb-2">Extracted Text</label>

            <textarea rows="23"
                class="w-full h-full border border-gray-300 rounded-lg p-3 text-sm bg-gray-50 resize-none"
                readonly
                placeholder="The extracted text will appear here after processing...">{{ $extractedText }}</textarea>
        </div>

    </div>
</div>

<script>
    function handleDrop(event) {
        event.preventDefault();
        @this.upload("image", event.dataTransfer.files[0]);
    }

    // Clicking the drop area opens file dialog
    document.getElementById("dropArea").addEventListener("click", function () {
        document.getElementById("fileInput").click();
    });
</script>

</div>
✅ Add Paste-to-Upload Support (Copy–Paste Image)
1. Add an ID to the main wrapper (optional but recommended)
Already present: id="dropArea"
2. Add JavaScript to listen for paste events
Add this inside your <script> tag:
<script>
    function handleDrop(event) {
        event.preventDefault();
        @this.upload("image", event.dataTransfer.files[0]);
    }

    // Clicking the drop area opens file dialog
    document.getElementById("dropArea").addEventListener("click", function () {
        document.getElementById("fileInput").click();
    });

    // 💡 NEW — Handle image paste from clipboard
    document.addEventListener("paste", function (event) {
        const items = (event.clipboardData || event.originalEvent.clipboardData).items;

        for (let i = 0; i < items.length; i++) {
            if (items[i].type.startsWith("image/")) {
                const file = items[i].getAsFile();

                // Upload to Livewire
                @this.upload("image", file);
                break;
            }
        }
    });
</script>
✔️ How it works now
You can now upload an image in THREE ways:
1. Drag & Drop → Works
2. Click to Browse → Works
3. Copy image → Ctrl + V → Auto Upload → Works 🎉
This includes:
Copying an image from Windows Snipping Tool
Copying an image from browser
Copying an image from Screenshot (PrtSc) if stored in clipboard
Copy & Paste from Photos app
If you want paste to work only inside dropArea
Replace:

document.addEventListener("paste", function (event) {


with:

document.getElementById("dropArea").addEventListener("paste", function (event) {
Replace:
🎨 Bootstrap Version (Simple Version)
<div class="mt-3">
    <label>Choose Photo: </label>

    <div class="border p-4 text-center bg-light"
         style="cursor: pointer; border-style: dashed;"
         ondragover="event.preventDefault()"
         ondrop="handleDrop(event)"
         id="dropArea">

        <p>Drag & Drop file or click to browse</p>

        <input type="file" wire:model="photo" id="fileInput" class="d-none">

        @if ($photo)
            <div class="mt-3">
                <p><strong>Preview:</strong></p>
                <img src="{{ $photo->temporaryUrl() }}" class="img-thumbnail" style="max-width: 250px;">
            </div>
        @endif
    </div>

    @error("photo")
        <span class="text-danger">{{ $message }}</span>
    @enderror
</div>

<script>
    function handleDrop(event) {
        event.preventDefault();
        @this.upload("photo", event.dataTransfer.files[0])
    }

    document.getElementById("dropArea").addEventListener("click", function() {
        document.getElementById("fileInput").click();
    });
</script>

🎉 Conclusion

With the combination of Laravel Livewire and Tesseract OCR, you can build a powerful Image-to-Text Extractor with minimal effort.
This tool can be extended to:
✔ PDF to text
✔ Multi-image upload
✔ Save extracted text
✔ Translate extracted text
✔ Save OCR history